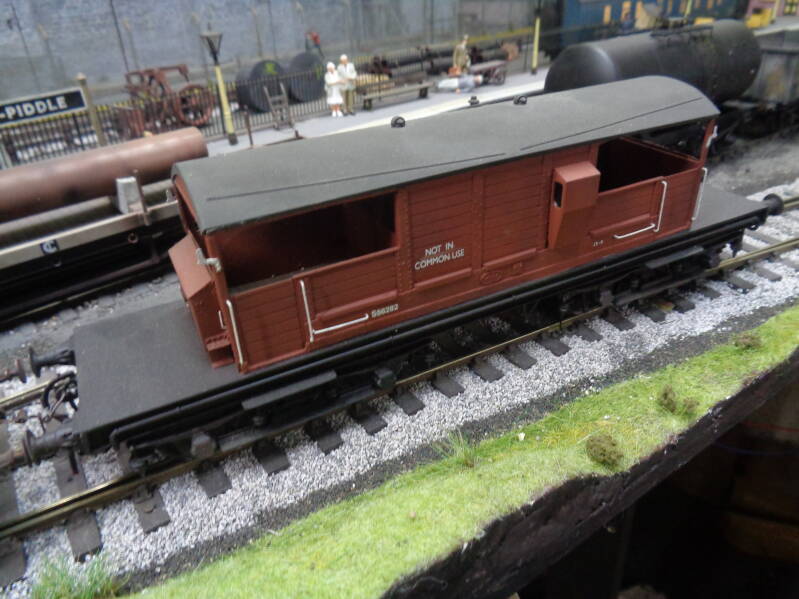
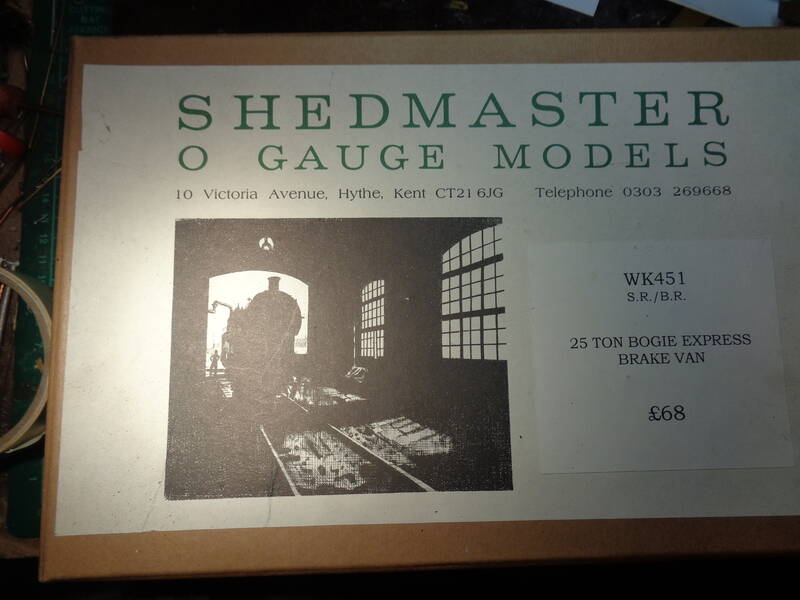
The box. I think this kit had been hanging around a while...
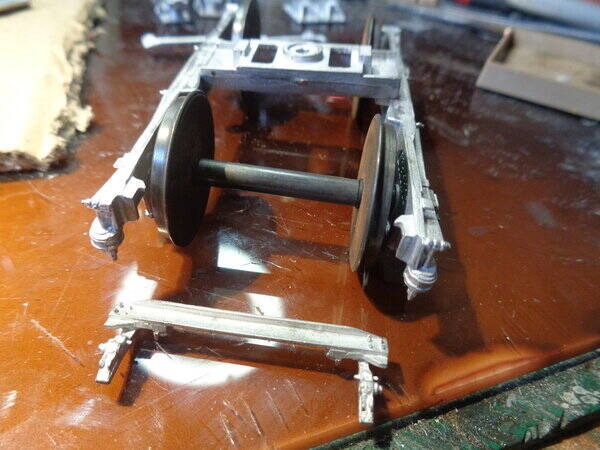
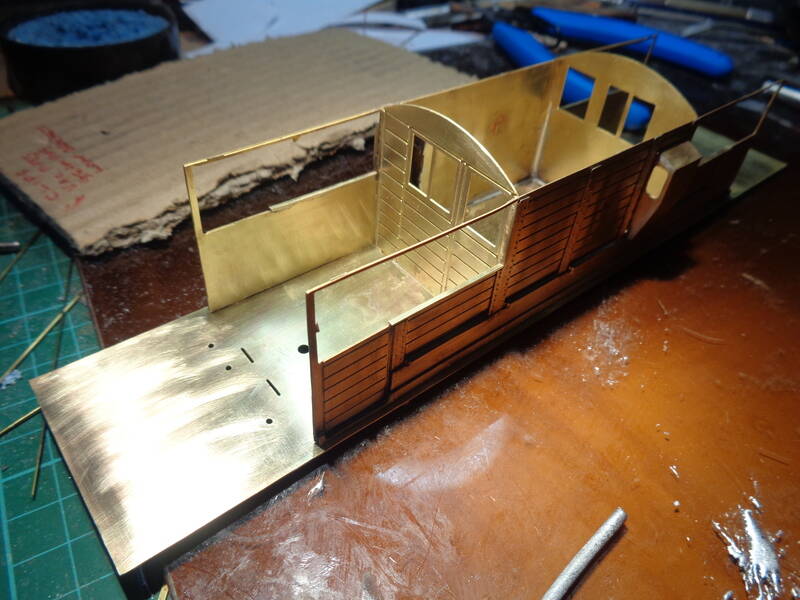
Added the cabin, going well.
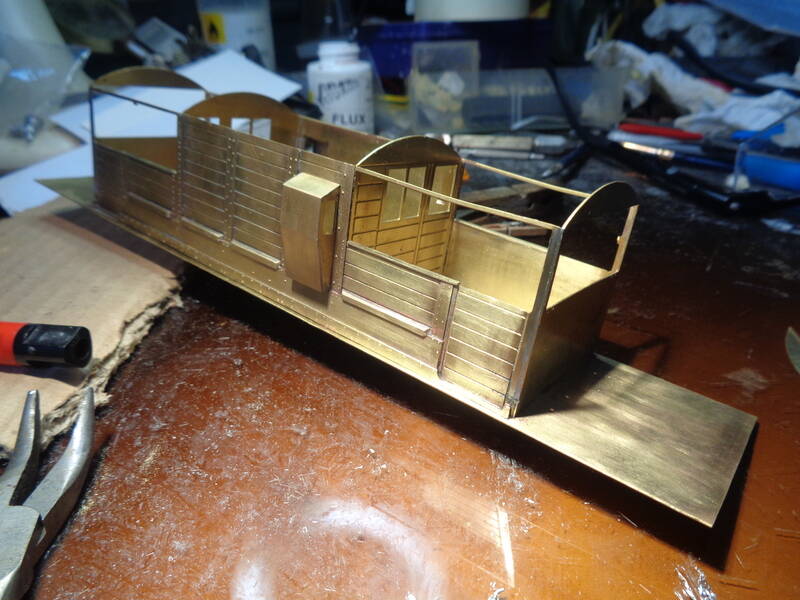
The basic body done.
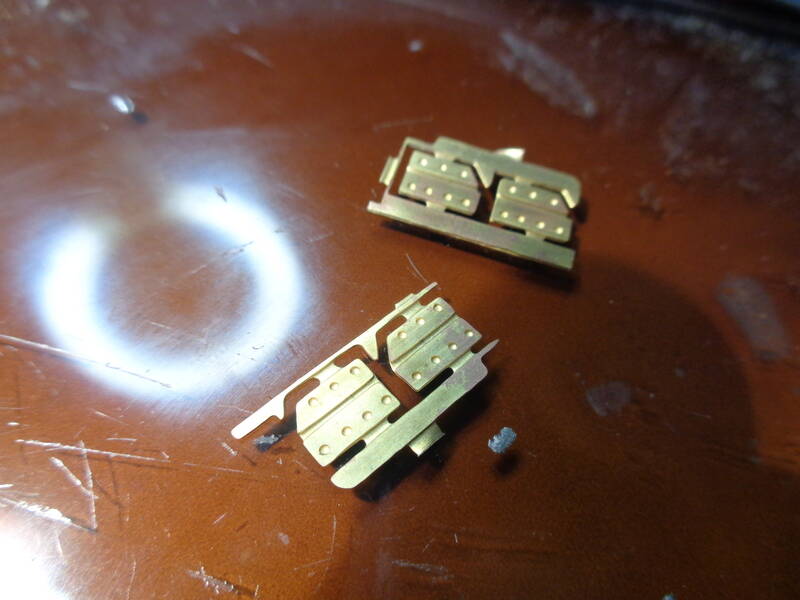
Mystery bits... the sketch gave no indication where these should go. Referencing the Connoisseur instructions solved it.
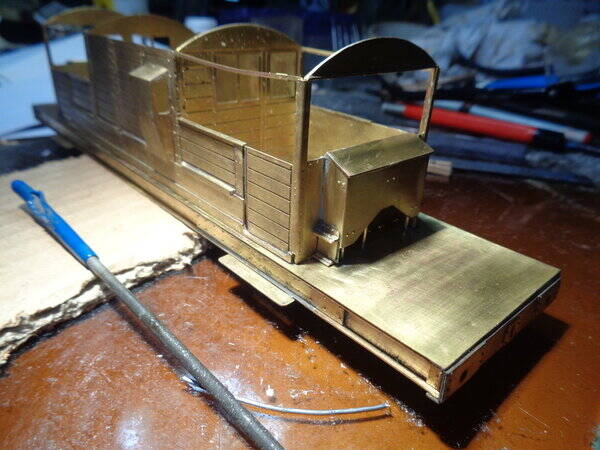
The sand boxes added.
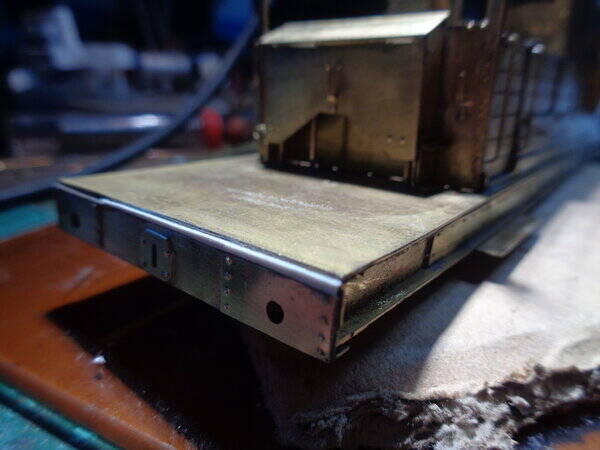
The buffer beam mod
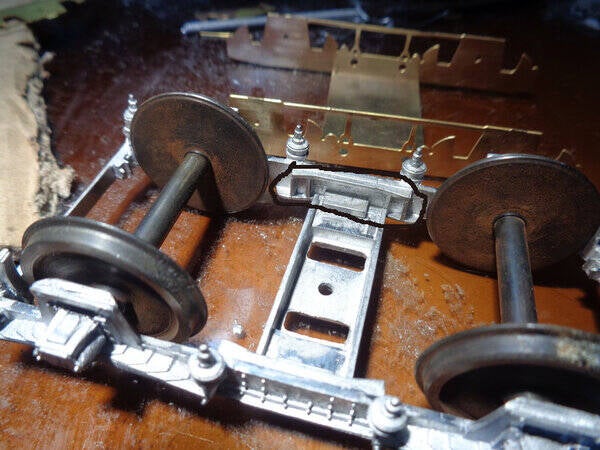
Back to the bogies. They came with a brass in addition to the white metal parts. I have no idea how this was supposed to work. No inner brake shoes are provided and the sides don't have a lot to solder to. Turns out the brass frames have a very good use, but not the one intended. See later.
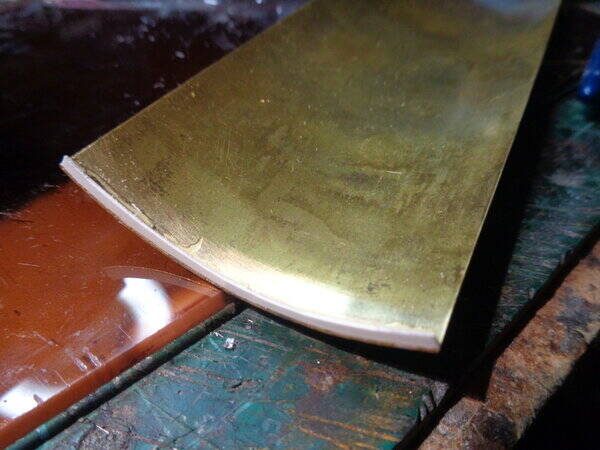
No valances are supplied for the roof ends, something of a feature of the prototype. Using the Connoisseur kit for reference I made a pair. The roof is just long enough to get them over the ends.
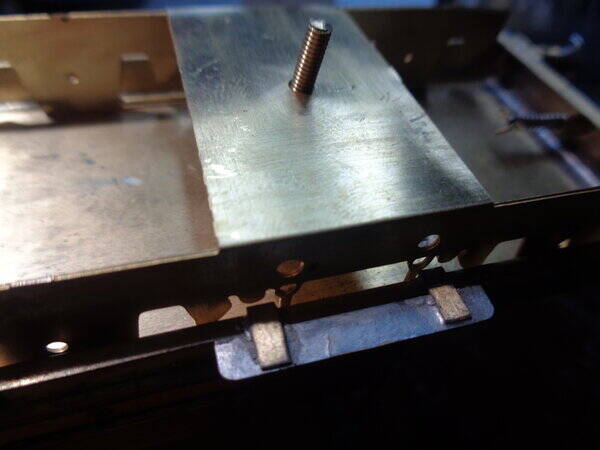
Back to the bogies. Fitting them to the chassis as intended gave a very wobbly wagon - not good. So I used those brass bogie frames upside down to support the bogies. It worked, and got rid of the screws in the verandah floors. To cover the holes I used plastikard 'planking' embossed sheets - you need to do that anyway, the plain floor is very obvious without.
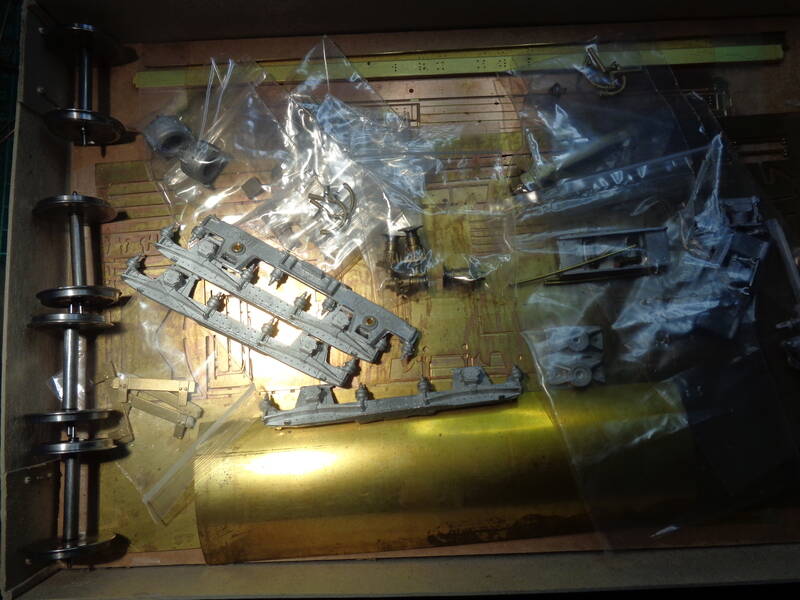
In the box - complete with wheels - always a plus.
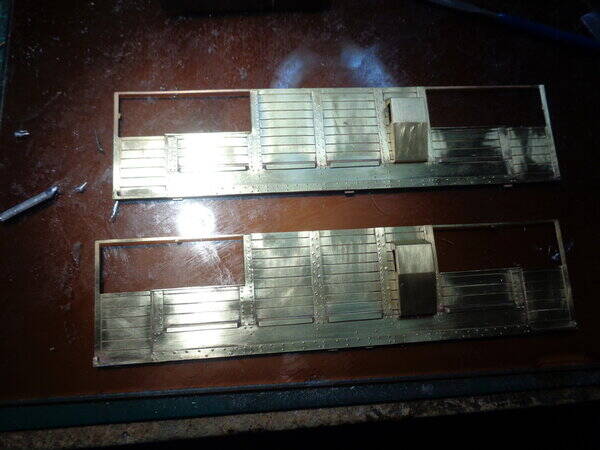
The sides with river strips, drips and buckets fitted. All good. So far.

There's no inside planking like the Connoisseur kit, and the bogie screw is supposed to be fitted so it is visible. More on this later
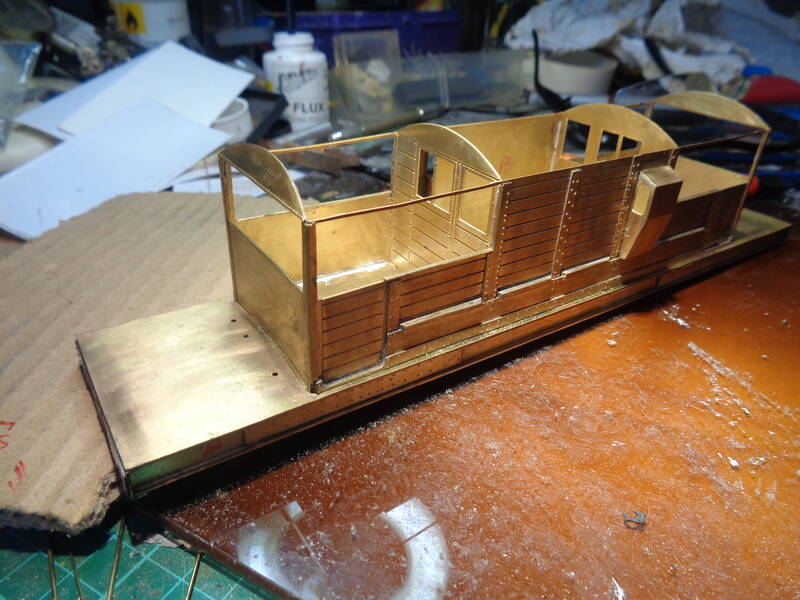
And sole bars and buffer beams added. The platforms were a tad short, so I added strips of plastikard to get them flush with the buffer beams.
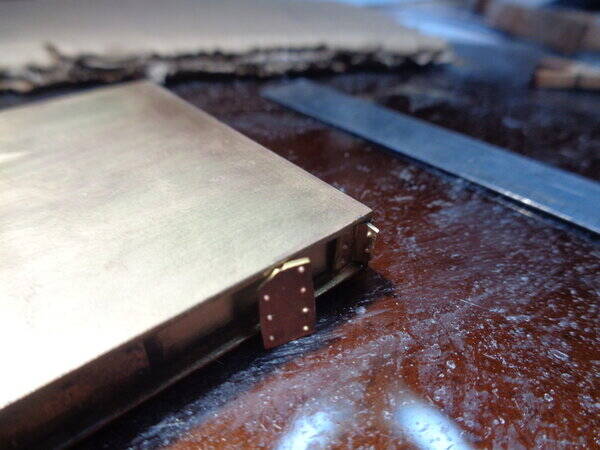
They are supposed to go in behind the buffer beams - completely the wrong size so had to be hacked about a bit. Lot.

And handrails.
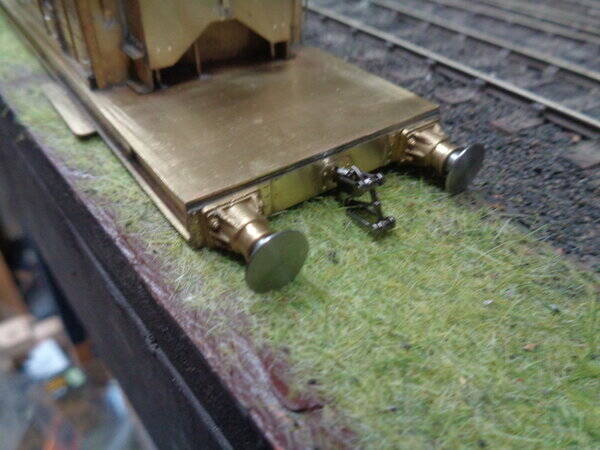
Couplings added, and the lovely supplied brass buffers. Sexy.
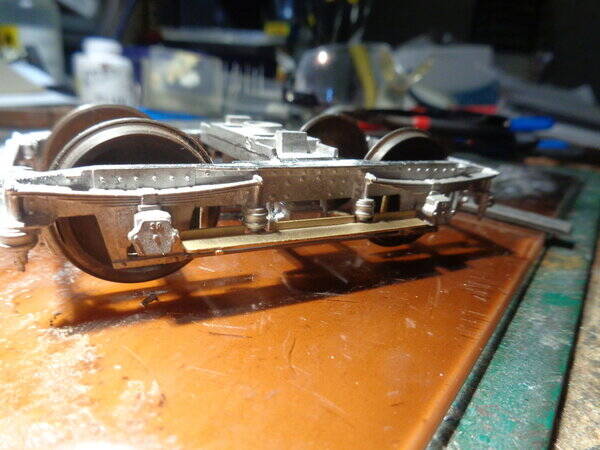
Bogies assembled. Quite nice castings.
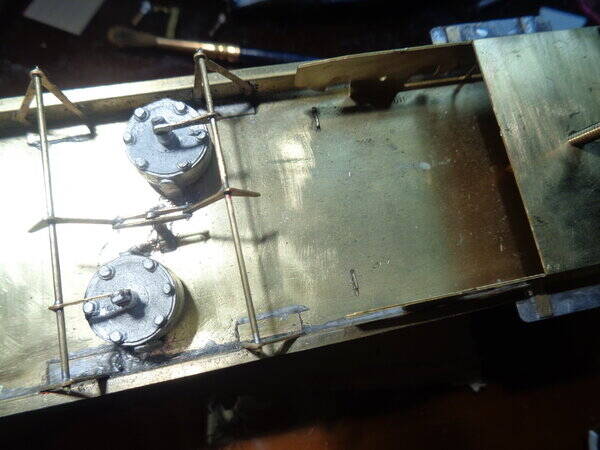
Following the sketch I ended up with the vac cylinders like this - but again referencing the Connoisseur instructions I found they should both be on the one side if you are modelling the dual brake version (which was most, if not all, of them). This was changed. Doing this leaves roof for an air tank, but I've not found one to do this.
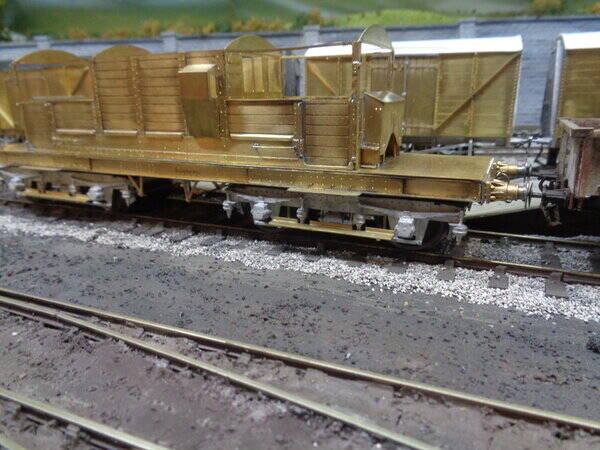
Buffer heights set correctly.

As far as the kit goes, that's it.
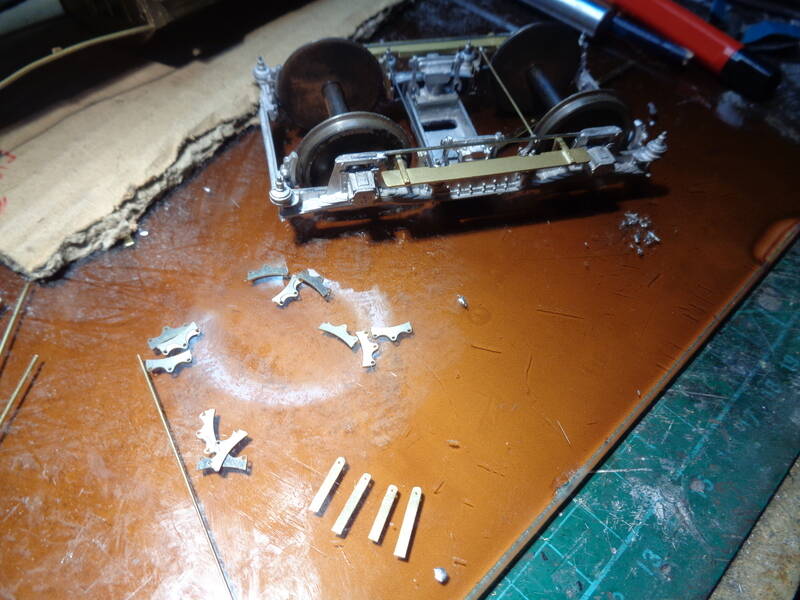
Inner brake shoes from the spares box
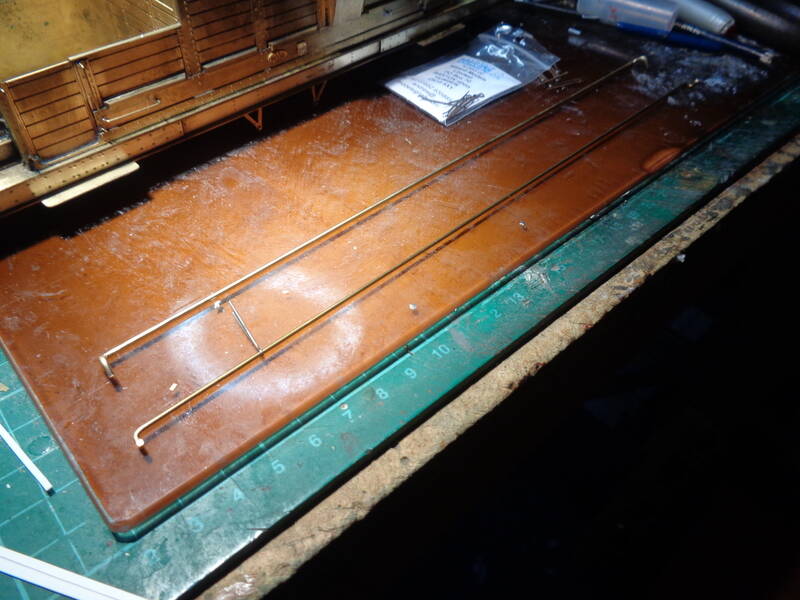
But I wanted to add the vacuum and air pipes down the sole bars as per prototype.
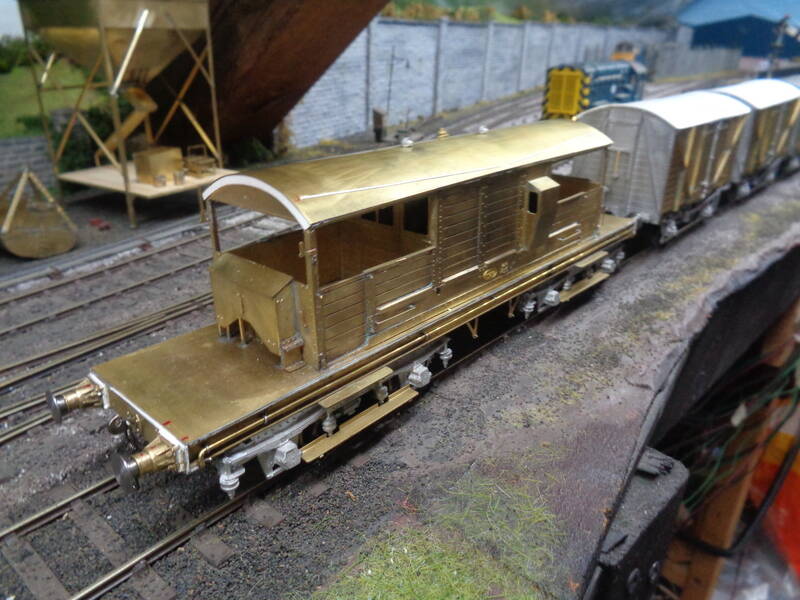
All done bar the vacuum and air hoses on the buffer beams.
Having built a Connoisseur Queen Mary I wasn't exactly in need of a second one, but then one came up at a price that I couldn't resist. The plan was to sell it, but I've still not got quit round to listing it... Both kits are still available and it's an interesting and illuminating experience doing both. I had quite a lot of problems with the Shedmaster kit and theres some omissions - no planing inside or on the floor of the verandahs and other stuff outlined above. The Shedmaster one is quite a lot cheaper, but there are reasons. If you want a great kit that just goes together and has all the bells and whistles then the Connoisseur is, in my opinion, the one to go for. If you are an experienced modeler happy to source/modify bits and price is an issue then the Shedmaster kit will do the job, but it won't be easy. Horses for courses. This one is finished BR early bauxite, transfers, well the running numbers are tare, from Railtec, the 'Not in common use' lettering came form, er, I think it was GWR Toad brake van transfers, Parkside? I do like the brass buffers, beautiful and neat.
Add comment
Comments